While the cold weather can see bookings drop, some anglers can’t imagine anything better than celebrating the holidays with a fishing trip. During the winter months, most trips are booked just after Christmas and leading up to New Year’s Eve. Customers who want to spend the actual holidays out on the water usually plan their trips pretty last-minute, booking only a day or two in advance. But how can you make sure they choose your charter?
Tip #1: Create seasonal-specific trips in time for the holidays
When advertising your charter for the winter season, consider setting up some holiday-specific trips. You can do this by:
Creating a special holiday offer. The highest number of bookings take place just after the holidays. The week between Christmas and New Year sees a big increase in trip requests. Why not use this information to add some seasonal holiday trips?
You could advertise a post-Christmas half-day fishing adventure, or a wintry full-day ice fishing trip. Mentioning an upcoming (or recently passed) holiday will stand out to potential customers, especially if you combine it with a special holiday price. Then you just need to set the seasonality so these trips last for a specific weekend or across the holiday period.
Hey guys, it’s Mark and I’m here to give you a quick guide on how to create, update, and manage your trips on FishingBooker. I’ll specifically walk you through how to add new trips, choose and edit your prices, set up your seasonality, and create multi-day and shared packages.
If you haven’t done so, I highly recommend downloading the My Trips app. It allows you to manage your entire FishingBooker profile, including your trips, all on your phone, making it super easy to update your information on the go.
Managing and setting up trips is simple. Just open up the My Trips app and click on the ‘Business’ tab in the bottom right-hand corner of your screen. Then, go to ‘Listings’ and select the the specific listing you’d like to add your new trip to. This will take you to the page where you can manage your listing.
Scroll down towards the bottom and click on the ‘Trips’ tab which will open all the trips you have for that particular listing. To add a new trip, click on the ‘Add Trip’ button, and then complete all the required fields on the following page.
A common mistake that can lead to lots of confusion, is entering all of your trips packages under one single trip. So just be sure to separate them and avoid all the unnecessary hassle in the future.
For example, a half-day, full-day, or 2-day trip should all be added separately in the system, as their own individual trips. This way, when a customer books a trip with you, both you and they will know exactly what to prepare for. It will be very clear what service you offer for which price. When creating a new trip, it’s important to include details in both the name and description.
Make sure each trip name is unique by including either the duration, such as half-day, full-day, or 2-day trip or by mentioning where you fish, such as inshore or offshore.
In the description, you want to provide as many details about the trip as possible. These should include the location of where you fish, such as the name of a river or lake, how long it takes to reach the fishing grounds, and what kind of species you’ll be targeting.
You can also list the amenities that are included in the price of your trip, as well as the ones that are available for an additional fee.
Some examples of amenities include lodging, meals, drinks, and fishing equipment.
You may also want to mention how much time your customers will spend fishing each day and how long it takes to get to the fishing grounds. Last but not least, be sure to
mention who the trip is most suitable for, such as families, beginners, experts, and so on. If your trip is catered more towards experts, then you probably don’t want to advertise it as a fishing trip for beginners and vice versa.
Now that you’ve created a name and description, it’s time to set up some of the details of your trip, such as the duration and availability. Depending on the duration of your trip, you will choose either a ‘Day’ or a ‘Multi-day’ trip. If you’ve selected ‘Day’ Trip, then adjust the number of hours your trip will last from the dock to dock. Then right under that, you can modify your availability by selecting the days you wish to run your trip on.
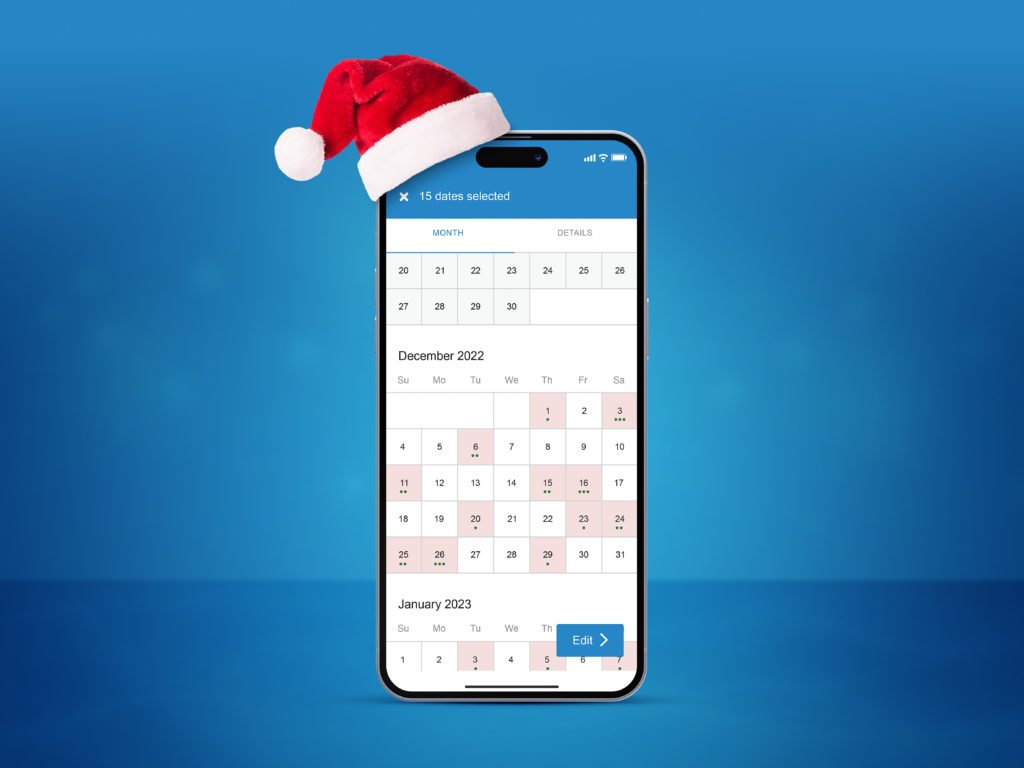
All the days of the week will be pre-selected, so just uncheck the days you don’t want to run your trips on. You can also turn the ‘Seasonal trip’ option on if you only offer trips during a certain time of year. So, if you only fish from spring to fall, then adjust the beginning and ending dates by selecting the month and day from the scroll-down menus. The seasonality tool means you’re in control of when customers can book with you – so they only book trips when you actually run them.
Setting it up according to how your business works will increase the percentage of trips you can accept, which in turn will affect your ranking and your customers' overall satisfaction. The next step is going over how to set your prices up properly.
First, you’ll determine the ‘trip type’ by selecting either ‘private’ or ‘shared’ trip. Private trips are reserved for one closed party, whereas shared trips are catered to a mixed group of anglers coming from multiple bookings.
For private trips, you’ll have the option to set the price up as ‘per group’ or ‘per person,’ while for shared trips, you can only set the price for each individual customer. If you’re setting up a private trip, it’s recommended to use the ‘priced per group’ model. This is because when you select the ‘per person’ model and set a minimum number of people, only groups that are that size or larger can book with you, so you’re potentially blocking some groups from being able to find and book your trip. Another important feature to mention about the ‘Priced per group’ model, is that you can add an ‘additional person’ surcharge after a certain number of customers have already booked.
Just switch the surcharge option to ‘on,’ select the number of customers after which the surcharge will be applied, and enter the price for each additional person.
If you’re setting up a shared trip, you’ll be automatically prompted to enter in the ‘price per person.’ Then, you'll set the minimum number of people that can book your trip. This means, if you set the minimum number to 2 people, then single anglers won't be able to book, but groups of 2 or more will.
However, if you set the minimum number to 1 person, then you'll be able to receive individual bookings for each seat on your boat.
Last but not least, when setting up your prices, it’s important to remember that you must match them with the prices that are advertised on your website. Our Best Price Guarantee promises that customers won't find a lower price anywhere else online, otherwise, they may be entitled to a partial refund. We do all that we can to make sure each customer pays a fair price, and that your prices on FishingBooker match what’s on your website.
Our team compares these prices and will reach out to you to correct prices if there are any discrepancies. It’s important to note that having higher rates on your FishingBooker listing than what you regularly offer customers is against our policies.
Now, if you’re creating a multi-day trip, you’ll notice some changes to the options on your screen such as the duration, accommodation, and the way you set up your prices. Once you’ve clicked the ‘Multi-day trip’ option, select the number of days that should be blocked off in your calendar if someone books the trip.
Then, choose the accommodation by selecting either ‘Liveaboard’ or ‘Lodging.’ Liveaboard implies that the customer will be staying overnight on the boat, while lodging means that some form of accommodation will be provided back onshore. You should also make it very clear whether or not lodging is included in the total price of the trip. This is something you should also mention in your trip description, located in the text box above.
Once you’ve set the accommodation, next, adjust the availability by un-selecting which days you don’t want to run your trips on. Turn the seasonal trip option on if you only run trips during a specific time of year, or keep it off if your trips are offered year-round. When adding multi-day trips, you’ll also notice that the prices are set up slightly differently than single-day trips. When creating multi-day trips, it’s important to remember that you’re entering in the cost per day.
So if you choose ‘Priced per group’ for private trips, enter the price that the entire group will pay each day, not the overall price of the trip. For example, if your 2-day trip costs $2,000, then enter $1,000 per day in the box. You can also choose to set the daily price for each individual customer by selecting ‘Priced per person.’ If you’re setting up a shared trip, you’ll be automatically prompted to enter in the daily ‘price per person.’
You’ll then select the minimum number of people that can book your trip per each individual booking. And of course, as I mentioned earlier, remember to set your prices up in accordance with our Best Price Guarantee Policy and make sure the prices on your listing match what you advertise elsewhere online.
Once you’ve got your prices all set up, the next and final step is determining a time of departure. To choose a departure, just tap on the box, and then click on the time that pops up in the new window.
Then, click on the time box once again and enter in the new time. Once you’re done, click anywhere outside of the window, and hit confirm. If your departure time is flexible, you can always indicate this in the trip description and then confirm the departure time once the customer has already booked. For example, if your departure depends on tides, you can mention this in the description and then reach out to the customer after they’ve booked to confirm the exact time to meet.
Double-check to make sure everything looks good and then when you’re ready, hit save. This will automatically take you back to the page where you can manage all of your trips. Once you’ve set everything up, our Content Team will help optimize your listing, including your trip descriptions, to maximize its appeal and help you become more visible in search results.
If you ever need to go back and make changes to your trip information, just press ‘edit’ and it will take you to the ‘Edit trip’ screen.
From here, you can change the duration, availability, prices, and departure. However, in order to make a change to the name or description, you’ll have to request to make a change by clicking on the link in the beige information box at the top. The reason for this is because our Content Team has uniquely optimized your trip descriptions with the right amount of keywords and phrases to help your listing rank as well as possible. Any sort of alteration to this could potentially lead to a negative impact on your listings’ search results.
Now that you know how to add and update trip packages, go ahead and download the My Trips app and start managing all your trips and bookings directly from your smartphone!
Tagging fish species for each trip.Using the FishingBooker for Captains app, you can tag fish species that customers are likely to target during each trip. If you already have these set up, you can change them to show what the fishing in your area currently looks like. Maybe there are certain species that customers can only target during the holiday season. Tagging them on the relevant trip is a great way to bring attention to them.
Tip #2: Write reports so customers know what to expect
So you have your holiday trips set up, but how can you let customers know what to expect? You know that winter fishing in your area looks pretty different to summer fishing, but your customers may not. As well as tagging fish species for each trip and writing an informative description, you can also publish fishing reports for recently completed trips. You can include:
Which fish were biting when you were last out on the water
What the water and weather conditions were like
Pictures and videos of the trip
Over 4,000 people search for “fishing reports” in the USA per month. Writing informative reports greatly increases your chances of being found through Google, Bing, and other search engines, as well as FishingBooker. When you publish a fishing report, it automatically appears at the top of the reports page, giving you instant exposure. This has an especially big impact during quieter times of the year, such as the winter months.
Include words related to the holidays in the title of your report. If a customer is scrolling through a location page or the reports page, this will grab their attention. Photos and videos also hugely increase a customer’s likelihood to click. Images of the trip’s catch are a great way to set expectations and create excitement.
You can also go one step further during the holidays. If you have accessories like Santa hats, tinsel, or a frozen lake as a backdrop, why not use them in the photos to get even more attention?
Tip #3: Use social media to promote, promote, promote
You’ve added special holiday trips to your listing. You’ve made sure you’ve tagged the most commonly targeted fish for each trip. You’ve written reports to let customers know what fishing in your location looks like. How can you make sure this information reaches the largest number of potential guests?
Social media, of course. Over 50% of travellers say they make plans to visit a specific destination based on an image or video shared by friends, colleagues, family members, or peers on social media. Whether you prefer Instagram or Facebook, these platforms let you share your business beyond FishingBooker, no matter the time of year. It only takes a few minutes, too.
Simply upload a recent image of happy customers with their catch, use the caption or post to tell potential guests that you’ll be out on the water during the holidays, and include a link to your FishingBooker listing.
A happy customer – this would make a great social media post!
If a customer reaches out to you requesting a personalized fishing trip, you can send them a special offer adapted to suit their wishes. Not only can you fill up your calendar with additional trips, but you’ll be going the extra mile to help your customers have an unforgettable holiday season!
Tip #4: Change your notice period so you can accept more bookings
In general, FishingBooker customers book 0–7 days in advance of their trip. When the winter holiday season starts, most trips are booked only a day or two in advance. We all know how busy this time of year gets, so it makes sense that everything is a little more last-minute!
You can actually use this to your advantage. Activate Instant Book, and customers will be able to book a trip with you straight away. Over 70% of customers opt for listings with Instant Book, so just turning it on can mean a boost in bookings. All you need to do is keep your calendar updated to make sure your trips don’t overlap.
Hi, I'm Mark, your FishingBooker host. And today, I'll try to answer some commonly asked questions about our most popular feature, Instant Book.
FishingBooker offers two options for customers to book their trip. One way is for customers to request a date and wait for your response. The other is by booking an available date and having it confirmed instantly, which is Instant Book. By now, almost seventy percent of all of our bookings worldwide come through the Instant Book option. So we're here today to talk about what this feature is and what it can do for you.
Instant Book is a simple and convenient feature that enables bookings to be processed swiftly and easily without having to be approved manually, as long as the requested date is open in your calendar. The moment a customer books, you'll immediately receive their contact details so that you can get in touch and set expectations early on.
As soon as you've enabled instant book, all you have to do is keep your calendar up to date through the Captain app and you'll no longer have to worry about rejecting booking requests or canceling them because of double bookings.
Now, from providing a smooth booking experience for both you and the customer, activating Instant Book brings you some additional benefits. Let's take a look at them. It gives your listing a ranking boost and a much higher chance of getting booked. On average, listings with Instant Book get up to 3x more bookings compared to a regular listing. Instant Book automatically processes bookings while providing you with customer contact details.
This way, you spend more time fishing and less time managing booking requests. And last but not least, it's completely free of charge.
How do you enable Instant Book? First, log in to your FishingBooker account and click on the Business tab.
Choose listings and go to the listing you wish to set up for.
Then, go to the availability section of that listing and Instant Book settings will be at the top of the page.
You can enable or disable Instant Book.
You can also decide how far in advance you'd like customers to be able to book. So, if you don't want to accept instant bookings, say for the following day, we recommend that you start with the three days advance notice and gradually move towards no advance period.
When setting your advance notice, pay attention to the little box at the bottom.
If you check this box, customers can still request to book trips within your advance notice period, but you will be asked to accept or decline the request.
Leave the box unchecked and you will only get instant bookings for trips that are outside of your advance notice period.
A common question we get regarding the instant book feature is
What happens if I cancel a trip? Having this feature requires a degree of trust, as customers count on you to be available on the dates that you advertise as open.
Every trip you cancel that was booked through Instant Book will result in a rankings drop. After three cancellations, the Instant Book feature will be turned off. The best way to avoid this is to keep your calendar up to date. We understand that there are some things you simply have no control over. So any cancellations due to bad or unsafe weather or due to proven extenuating circumstances will not be penalized.
To sum it up, Instant Book is ultimately the most effective way to boost your business and to get more bookings on FishingBooker.
All you have to do is invest a few minutes of your time to update your calendar while Instant Book will take care of the rest. If you'd like to see how it works first hand, go to your profile and give it a try.
If you’ve already activated Instant Book, take a look at your current advance notice period. If you have the capacity, try setting it to 1–2 days before the trip. This means you’ll be ready and waiting for those customers who book last-minute trips. Your Instant Book settings are flexible and let you adapt to different booking patterns easily. Once the holiday season is over, you can always re-adjust your notice period.
Do you have any tips or tricks on how to increase bookings during the holidays? What do your trips usually look like during this season? Let us know in the comments below – we love hearing from you!
Katie is a Philosophy graduate from the UK, and now she spends her time asking (and answering!) the important questions, such as: What, exactly, are the best ways to bait a hook for Redfish? She first cast a line in Florida as a teenager, and it took her a while to circle back to angling as a hobby, but now she's hooked. Her personal fishing highlight? Reeling in a rare Golden Trevally while cruising the deep waters off the United Arab Emirates!